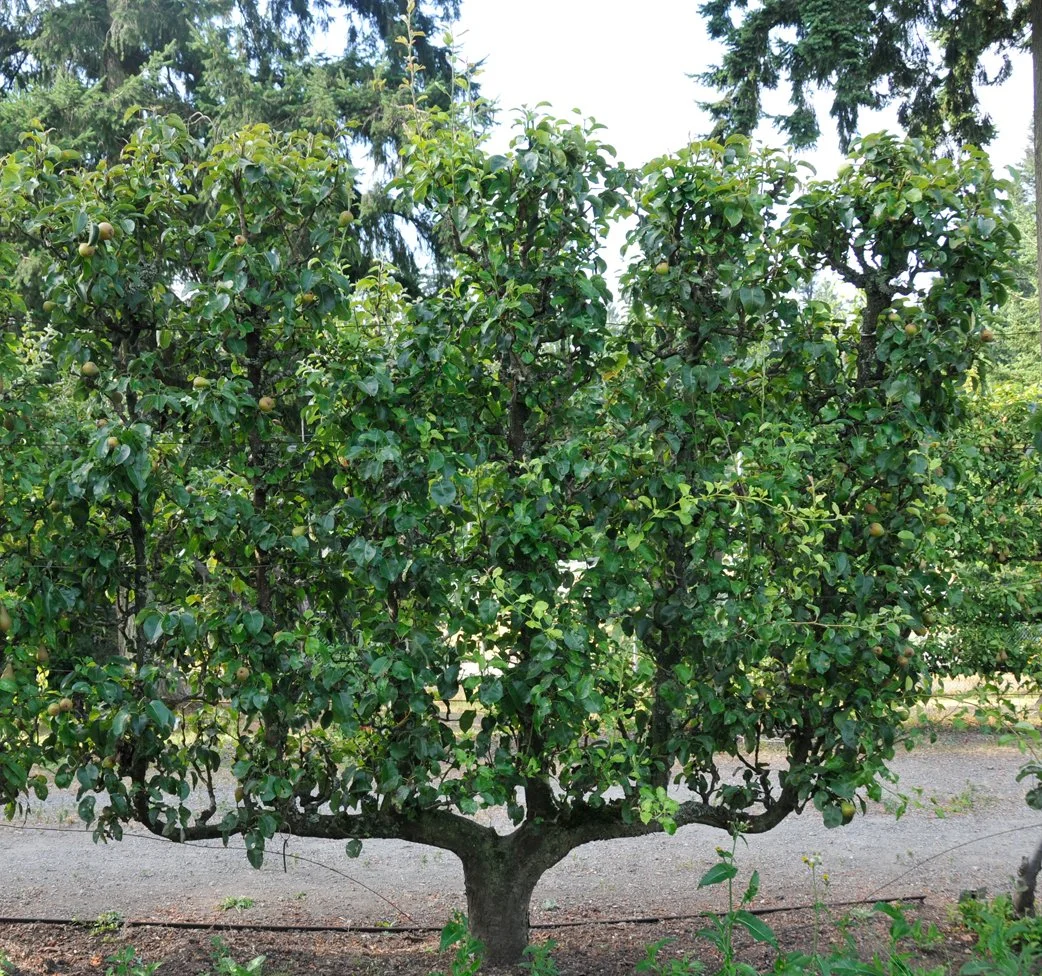
Planting your Espalier Trees
Planting an Espalier Fruit Tree
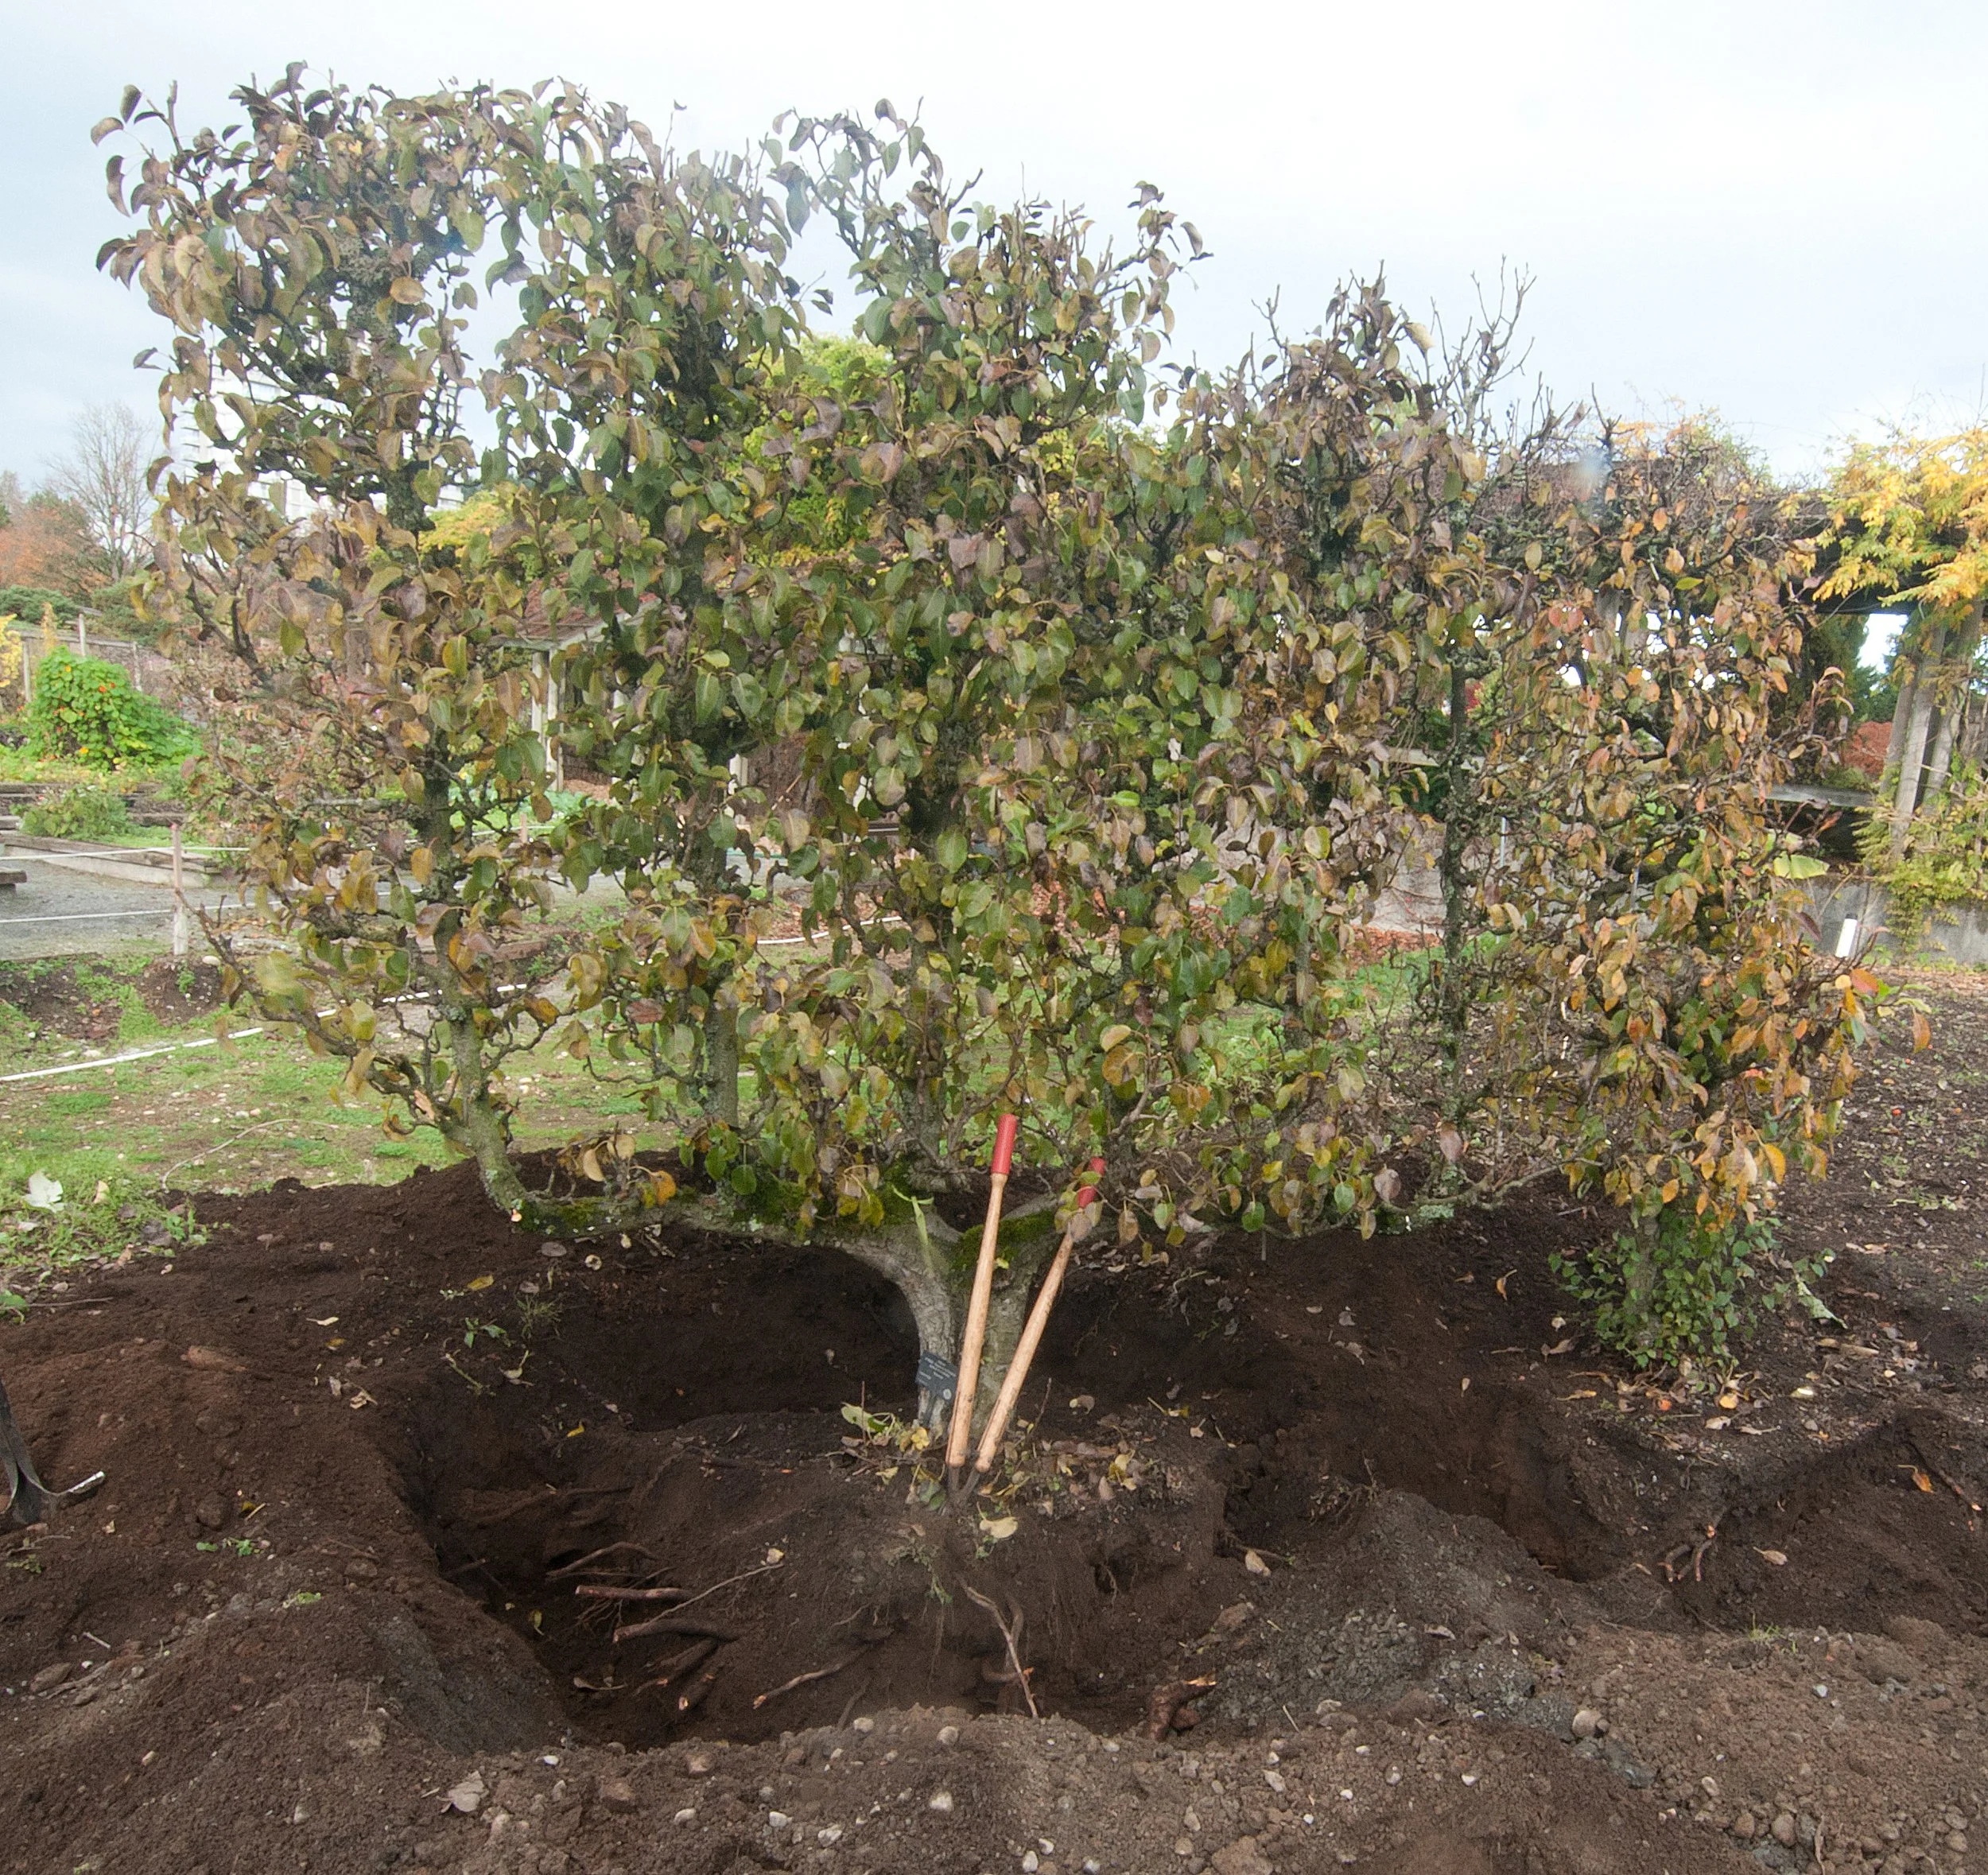
Tree types:
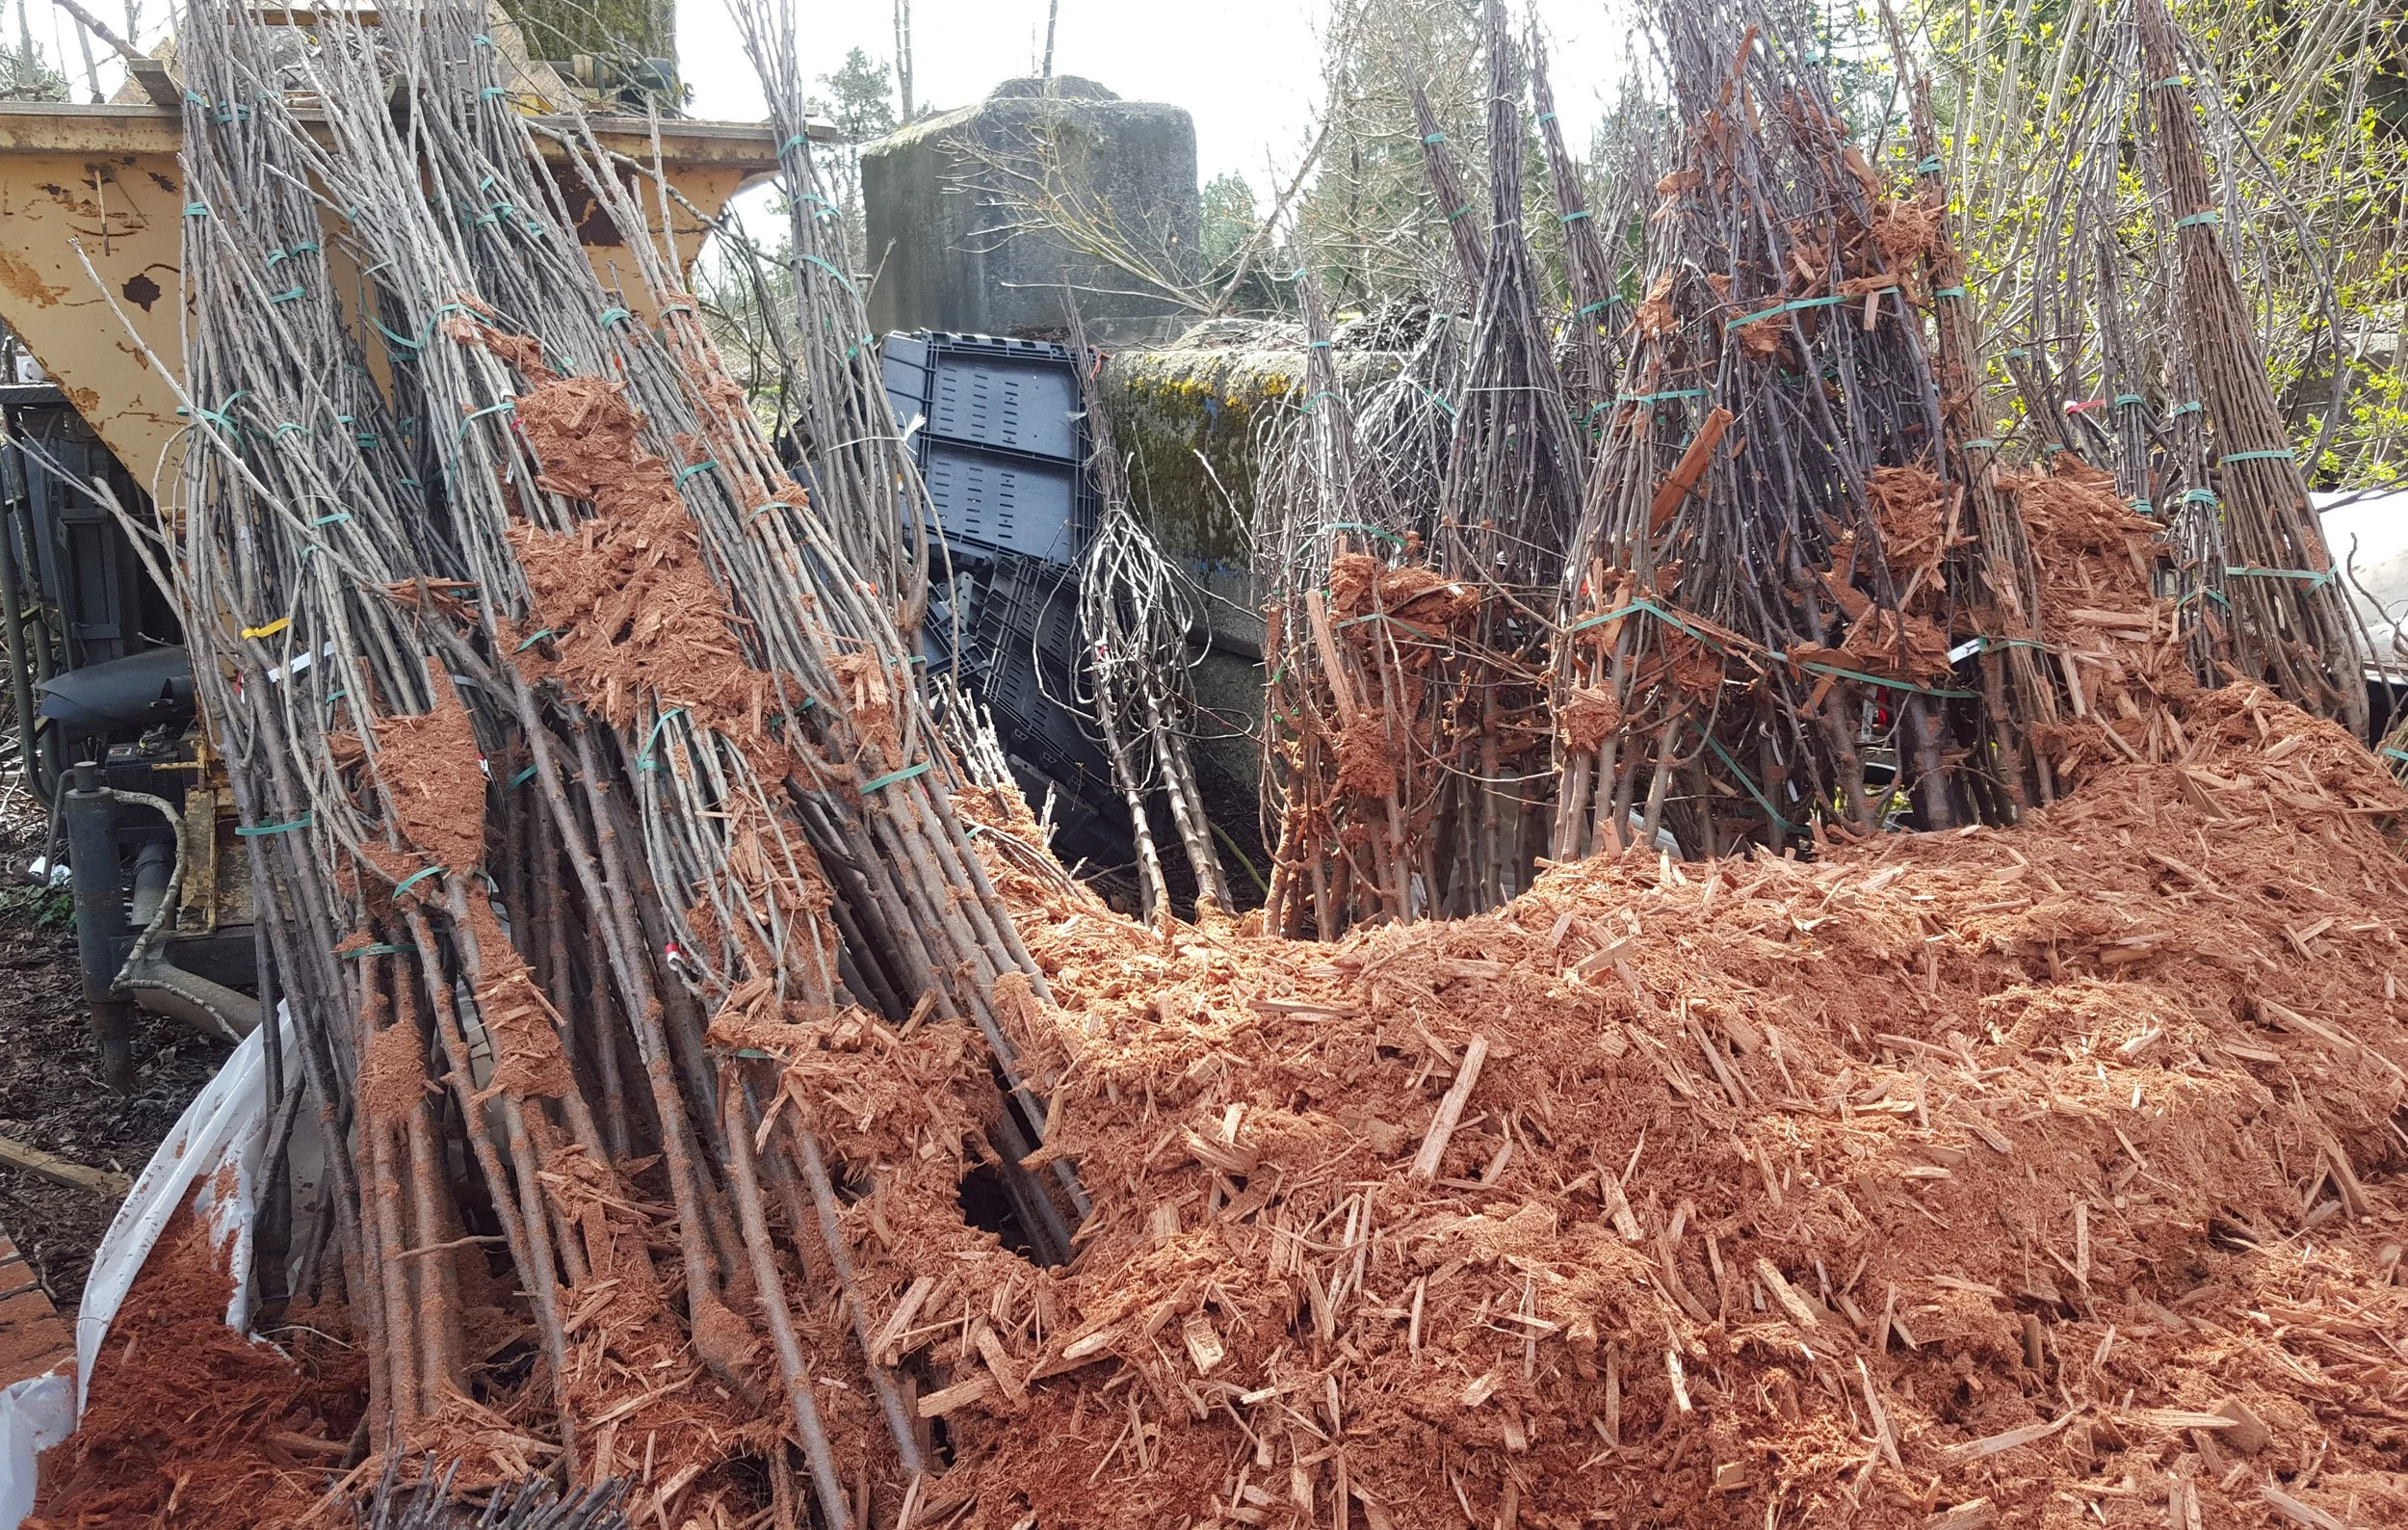
Transporting and storing your tree:
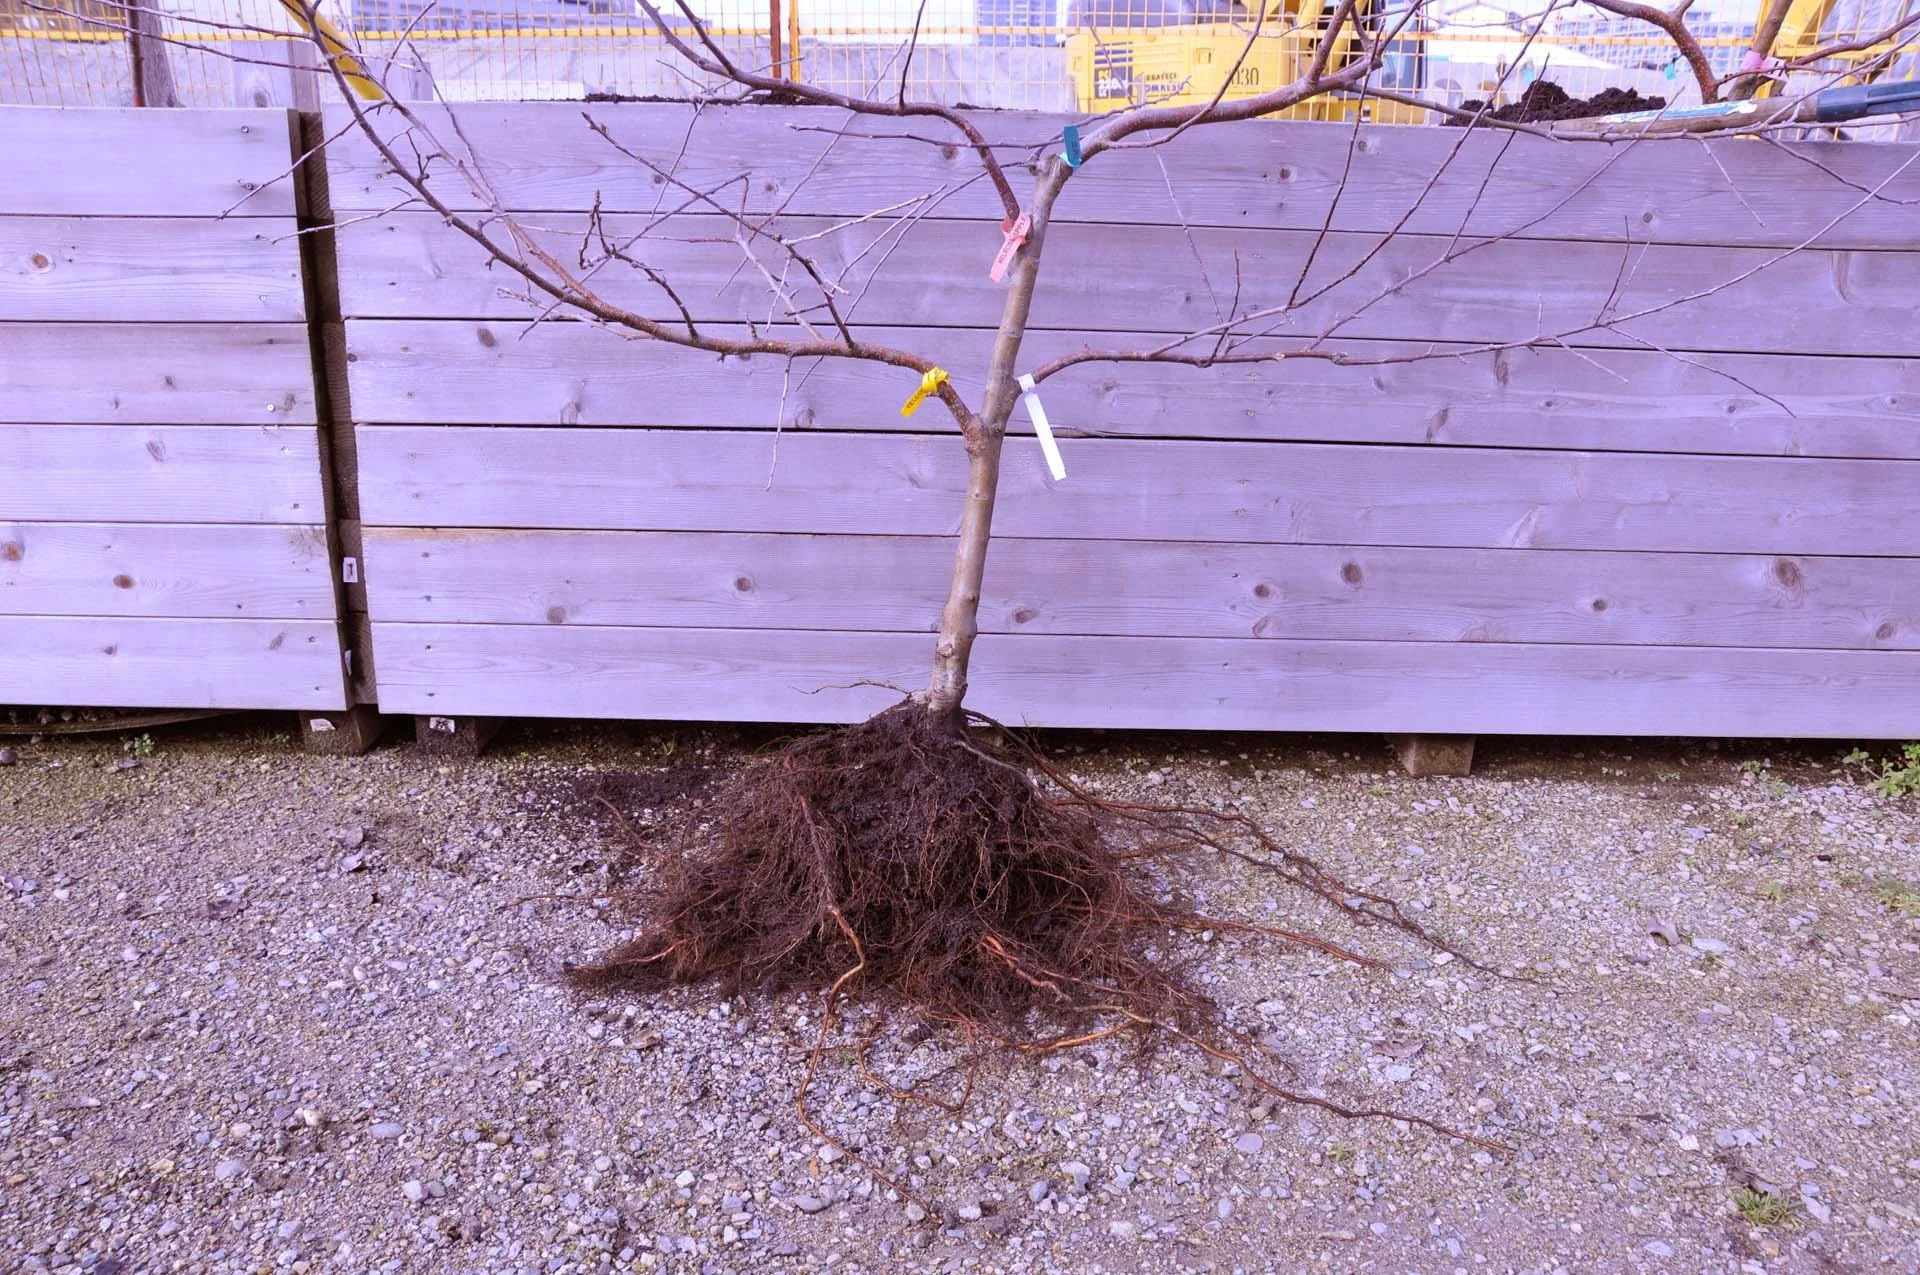
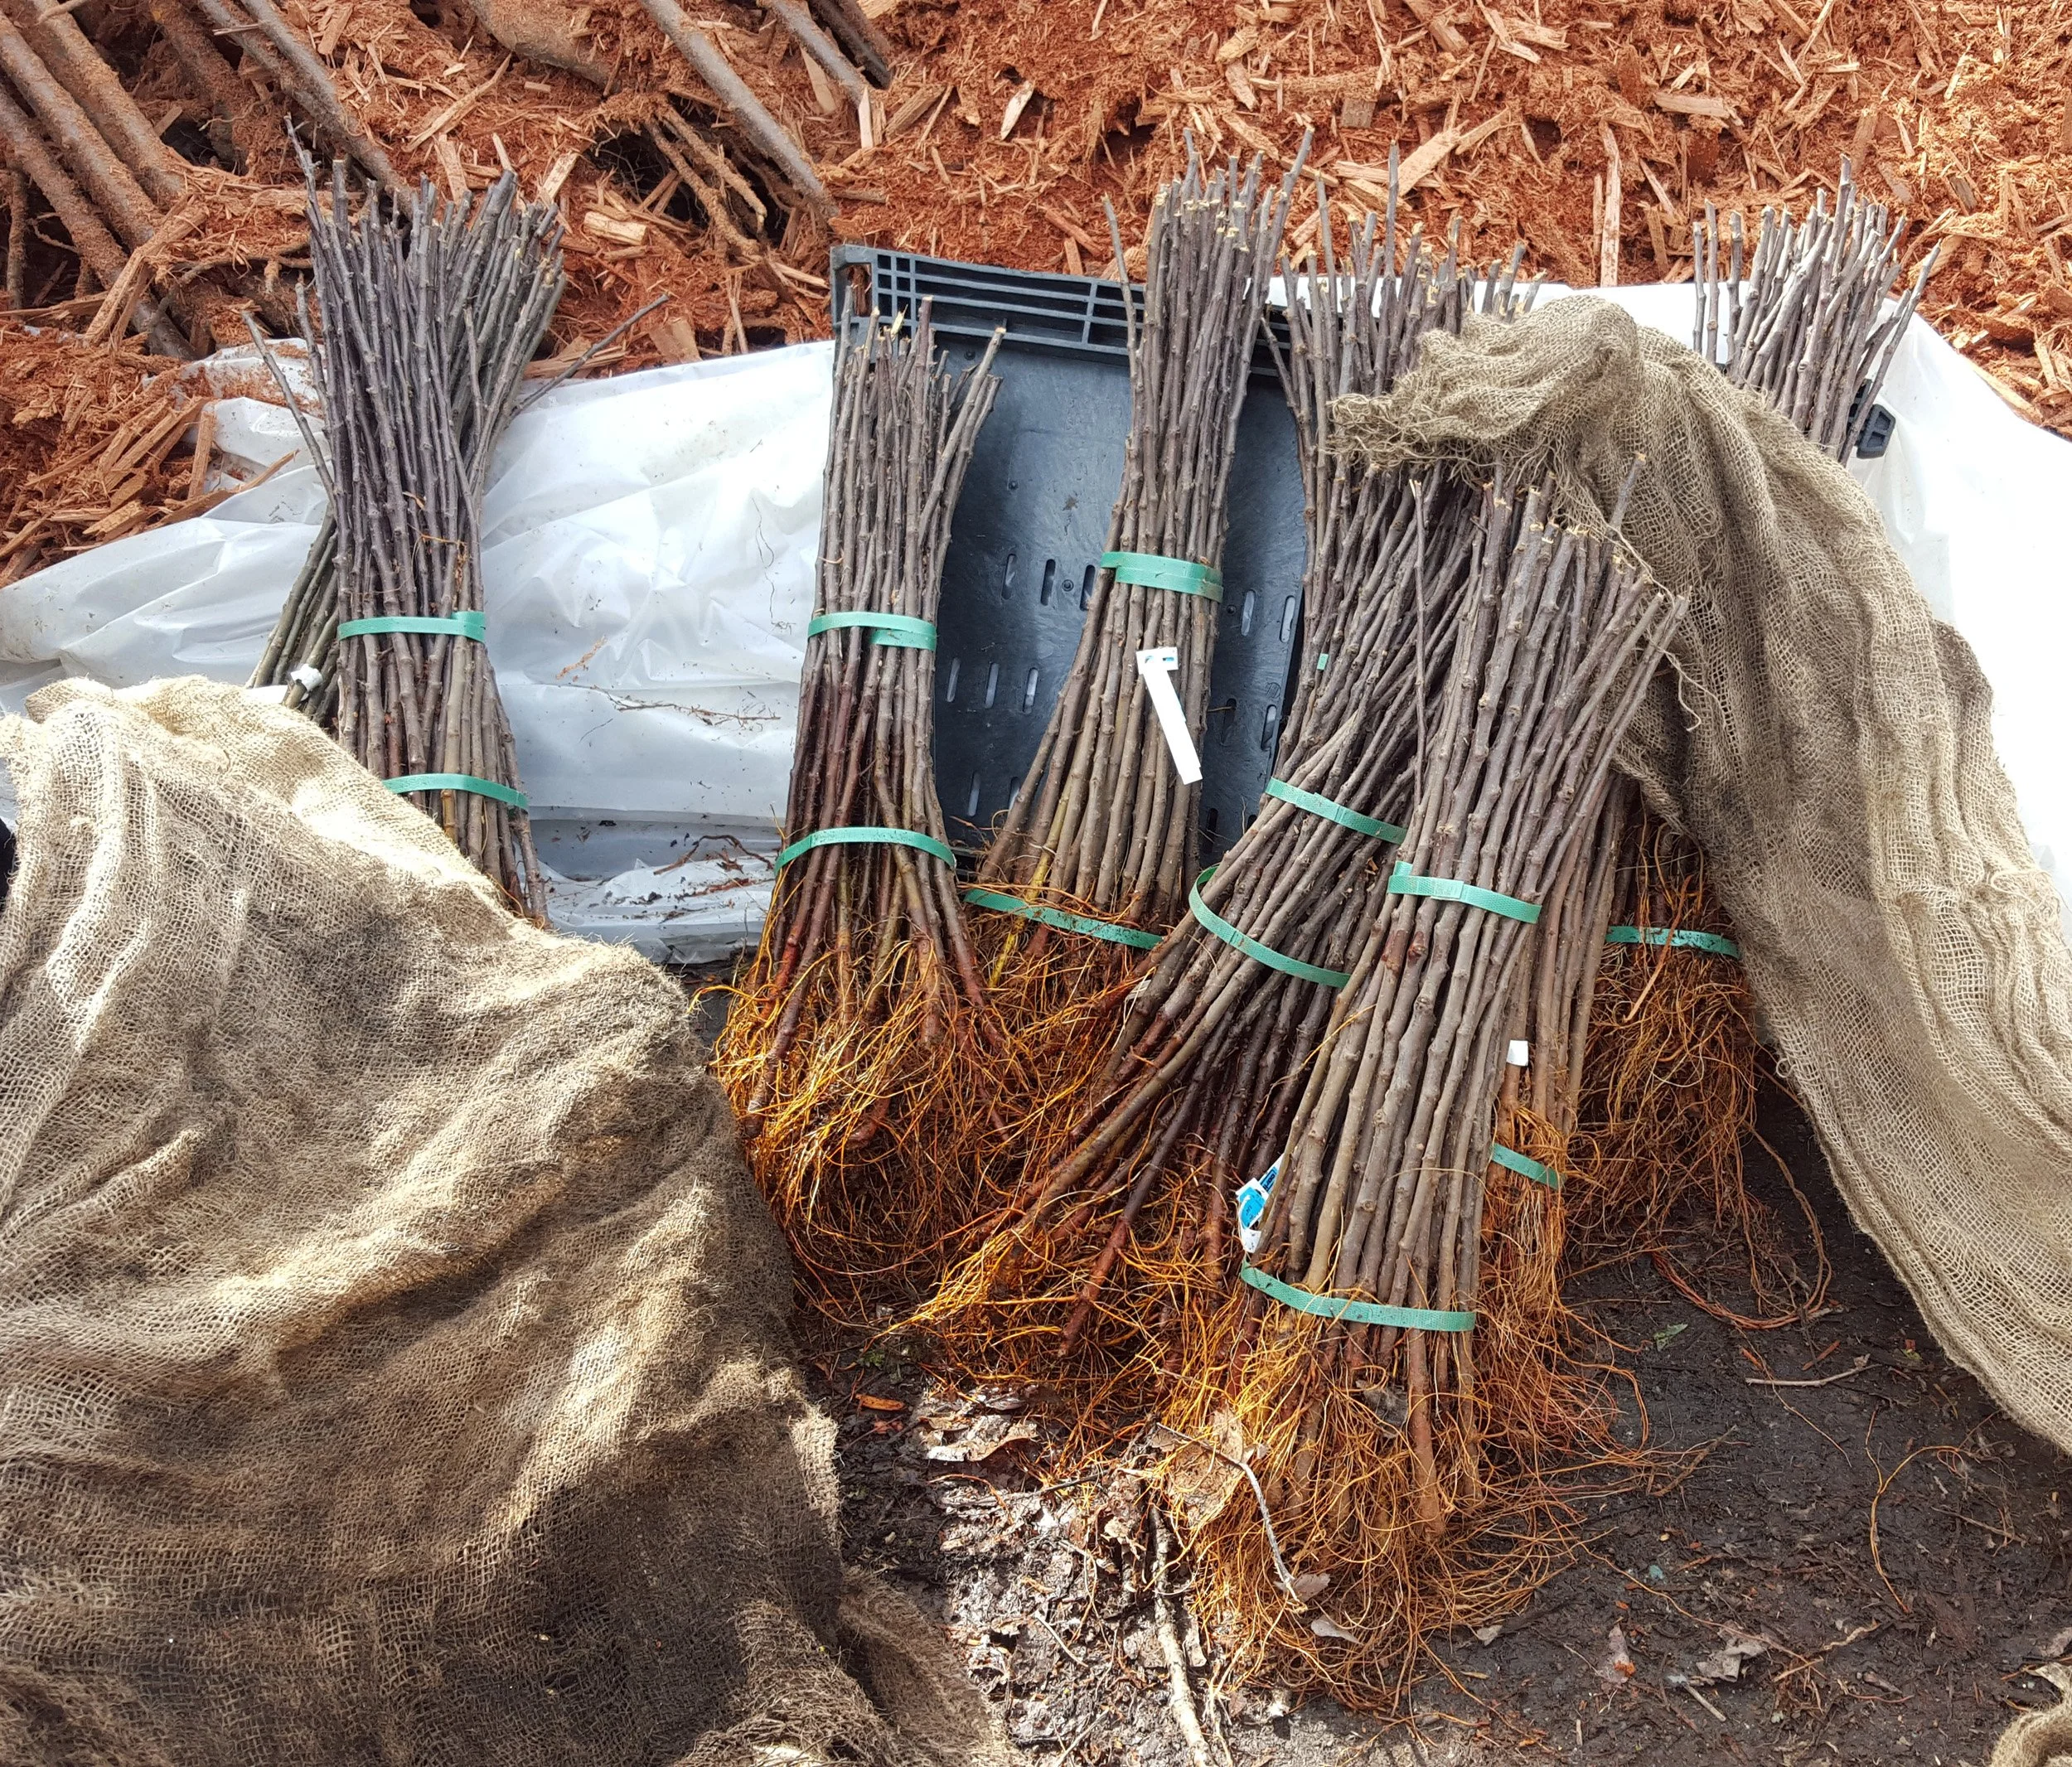
Bareroot
Container grown
Bareroot recently planted into a container

when the trees are at full leaf, north/south rows always intercept more sunlight than comparable east/west rows (

UBC Apple Festival Apple Tree Planting Instructions (for trees purchased at the festival) UBC Botanical Garden Friends of the Garden (FOG) Updated by Richard Hallman 2015
Apple trees are among the easiest of all fruit trees to grow. They tolerate a wide range of conditions, but need lots of sunlight (6 to 8 hours minimum) and good soil drainage. Getting good tree growth to develop structural branches during the first 2-3 years after planting is important. After that, the goal shifts from growing branches to the production of fruit buds. Healthy productive apple trees have a balance between branch growth and fruit production. Healthy trees require adequate soil moisture throughout the growing season, good nutrition (too much fertilizer can be worse than not enough) and control of competing vegetation, diseases and insect pests. Keep in mind that old apple trees nearby are usually a source of disease that will infect your new trees. Remove old infected trees if possible.
When to Plant If you purchased a tree at the UBC Apple Festival in mid-October, it is best to plant your new tree as soon as possible. This gives the tree a chance to grow a few new roots before cold weather, in preparation for growing the following spring. If you cannot plant your new tree in its final location in the fall, consider one of the following. All of these are intended to slow the rate of temperature change that the tree is exposed to. Rapid Changes in temperature rather than low temperatures themselves cause most winter damage to trees in pots, particularly to the roots as they are less able to stand temperature changes than the above ground parts of the trees.
1. plant the tree – pot and all – in the soil in a temporary location and move it to its final location in February (the soil around the pot will protect the roots the winter), or
2. transplant the tree into a larger pot (a 5 - 10 gallon pot) or wrap the small pot in insulation and place it in a protected location out of the worst winter weather, making sure it does not dry out. A protected location could be under a deck or at the back of a home between the home and a fence or in an unheated garage.
The trees will be dormant from the time you purchase them till the next spring so they do not need any sun. Water is very important as it buffers the rate of temperature change and keeps the roots from drying out. In February transplant it in its final location. Until you plant it, protect your tree from injury, drying out, freezing, or overheating. Black pots exposed to the winter sun will heat up quicker than light colored pots, even on cold days, leading to a dramatic drop in temperature at sundown. If you will be growing the tree in a container on a deck, patio or balcony, use a large container, soil with good drainage and follow the same procedure for planting in the ground. Half barrels are often recommended for long term planting of fruit trees. The problem with half barrels (20 - 25 gallon size) is that they are very heavy and awkward to move. Fruit trees can be grown permanently in containers as small as 10 gallons is you fertilize them annually and keep them irrigated in the summer. All trees that are grown permanently in containers will need to be repotted every few years (every 3 years for small containers, longer for larger containers).
Digging the Planting Hole Before planting, remove all the weeds and grass from a 2-4 foot circle of soil around the location where you are going to plant. Dig the hole approximately the depth of the pot and 2-3 times as wide. The planting hole should be wider at the top than at the bottom, as most of the feeder roots will be within a foot of the soil surface. All apple trees are grafted. The graft union is usually obvious as a slightly swollen area or a slight dog leg in the tree trunk just above the soil. After planting, the graft union should end up 2-3" (5-8 cm) above the final level of the soil, so the depth of the hole depends on where the graft union is on the tree you have purchased.
Planting the graft union at or below soil level is the most common mistake made when planting new dwarf fruit trees. If the graft union touches the soil, the scion (the part of the tree above the graft union) will grow roots, eliminating the dwarfing effect of the rootstock. If you accidentally dig the hole too deep or the root is smaller than expected once you take it out of the pot, backfill and tamp the soil down at the bottom of the hole prior to planting. Loose soil below the tree will result in the tree settling and the graft union getting closer to the soil.
Tree Support Most trees sold at the UBC Apple Festival have been grafted onto the full dwarfing M9 or B9 rootstocks (check the tree tag for the type of rootstock). These dwarf rootstocks will need support throughout their lifetime. If it is grafted on a larger rootstock, a temporary stake is a good practice to ensure it gets a start growing vertically. Support can be a single post for each tree (a post with 2’ in the ground will support a full grown dwarf tree), a fence, or a trellis of posts and wire. Place single stakes on the windward side of the tree and about 4-6" away from the future location of the tree trunk. The tree can then be secured to the support using vinyl tying cord or similar material tied in a figure 8 so the tree will not bang against the stake when it is windy. Planting Always handle a young grafted tree BELOW the graft union or by holding onto the pot. This is important because the graft union is held together by only a single year's growth ring at this stage and it can break if handled roughly. Holding the rootstock portion of the tree, invert the pot and remove the tree, shake off loose soil and/or potting mix. Form a small mound of soil in the bottom of the hole. Place the tree on top of the mound so the roots radiate evenly around the mound and all point downwards. Cut back any broken roots and any that wrap around the trunk or will not radiate properly.
Backfill the hole with the soil you removed from the hole. Organic and drainage soil amendments should not be added to the planting hole or the backfill soil. Research has shown that soil amendments added to the backfill do not aid in tree establishment and growth. Soil amendments are also likely to create an abrupt change in soil texture that can have a negative effect on moisture flow and root growth. In particular, do not add bone meal or phosphorus fertilizers to the planting hole; these products reduce the natural establishment of mycorrhizal colonization of the tree roots that help the tree absorb phosphorus from the soil. If your soil has problems that require amendments, apply them to the entire garden area before planting your tree. If you have a drainage problem, do not try to solve it by adding drainage material to the hole. Either install drainage in the entire garden area before planting, or plant the tree in a raised mound to provide a few extra inches of well-drained soil for the roots of your new tree.
When backfilling, work the soil around the root ball and add water to minimize air pockets that will dry out the roots. Firm the soil around the bottom of the root ball so the tree is vertical and adequately supported. If you are going to use a supporting stake, this is the time to add it. Slightly tamp down the remainder of the backfill as the hole is filled, as the new roots will grow through this soil. Water thoroughly and slowly after backfilling. New apple trees should be watered well during the spring of first two years until their root systems develop. All trees growing in the Vancouver/Fraser Valley area, should be watered as needed from May through to September to ensure good tree and fruit growth. Maintain a weed-free area a minimum 2' in diameter around the tree. A 1-2" layer of mulch such as bark mulch, or possibly well-rotted manure, will help suppress weeds, maintain soil moisture, and provide nutrients.
Post-planting Tree Care Fertilize new trees in late February or early March with 1 tablespoon of 6-8-6 (or the equivalent in organic fertilizer) spread evenly over a one foot diameter radius from the trunk. Repeat at six-week intervals until early August. If additional fertility is needed, supplemental irrigations with liquid fish fertilizer (following label instructions) can be applied. Manure is not recommended after the tree begins to bear fruit, because the slow release of nitrogen results in soft, poorly colored fruit. Dolomite lime can also be added every other year or so. Spread 10 lbs (5kg) in a circular area 2-3 yards out from the trunk. The best time to apply lime is in late fall or early winter, with a couple of months between liming and fertilizer application. Between February and mid-March, when the terminal bud begins to swell, prune back your new tree to about a 30-32" for bush or pyramid tree forms. For espalier tree forms see the UBC Botanical Garden Espalier handout.
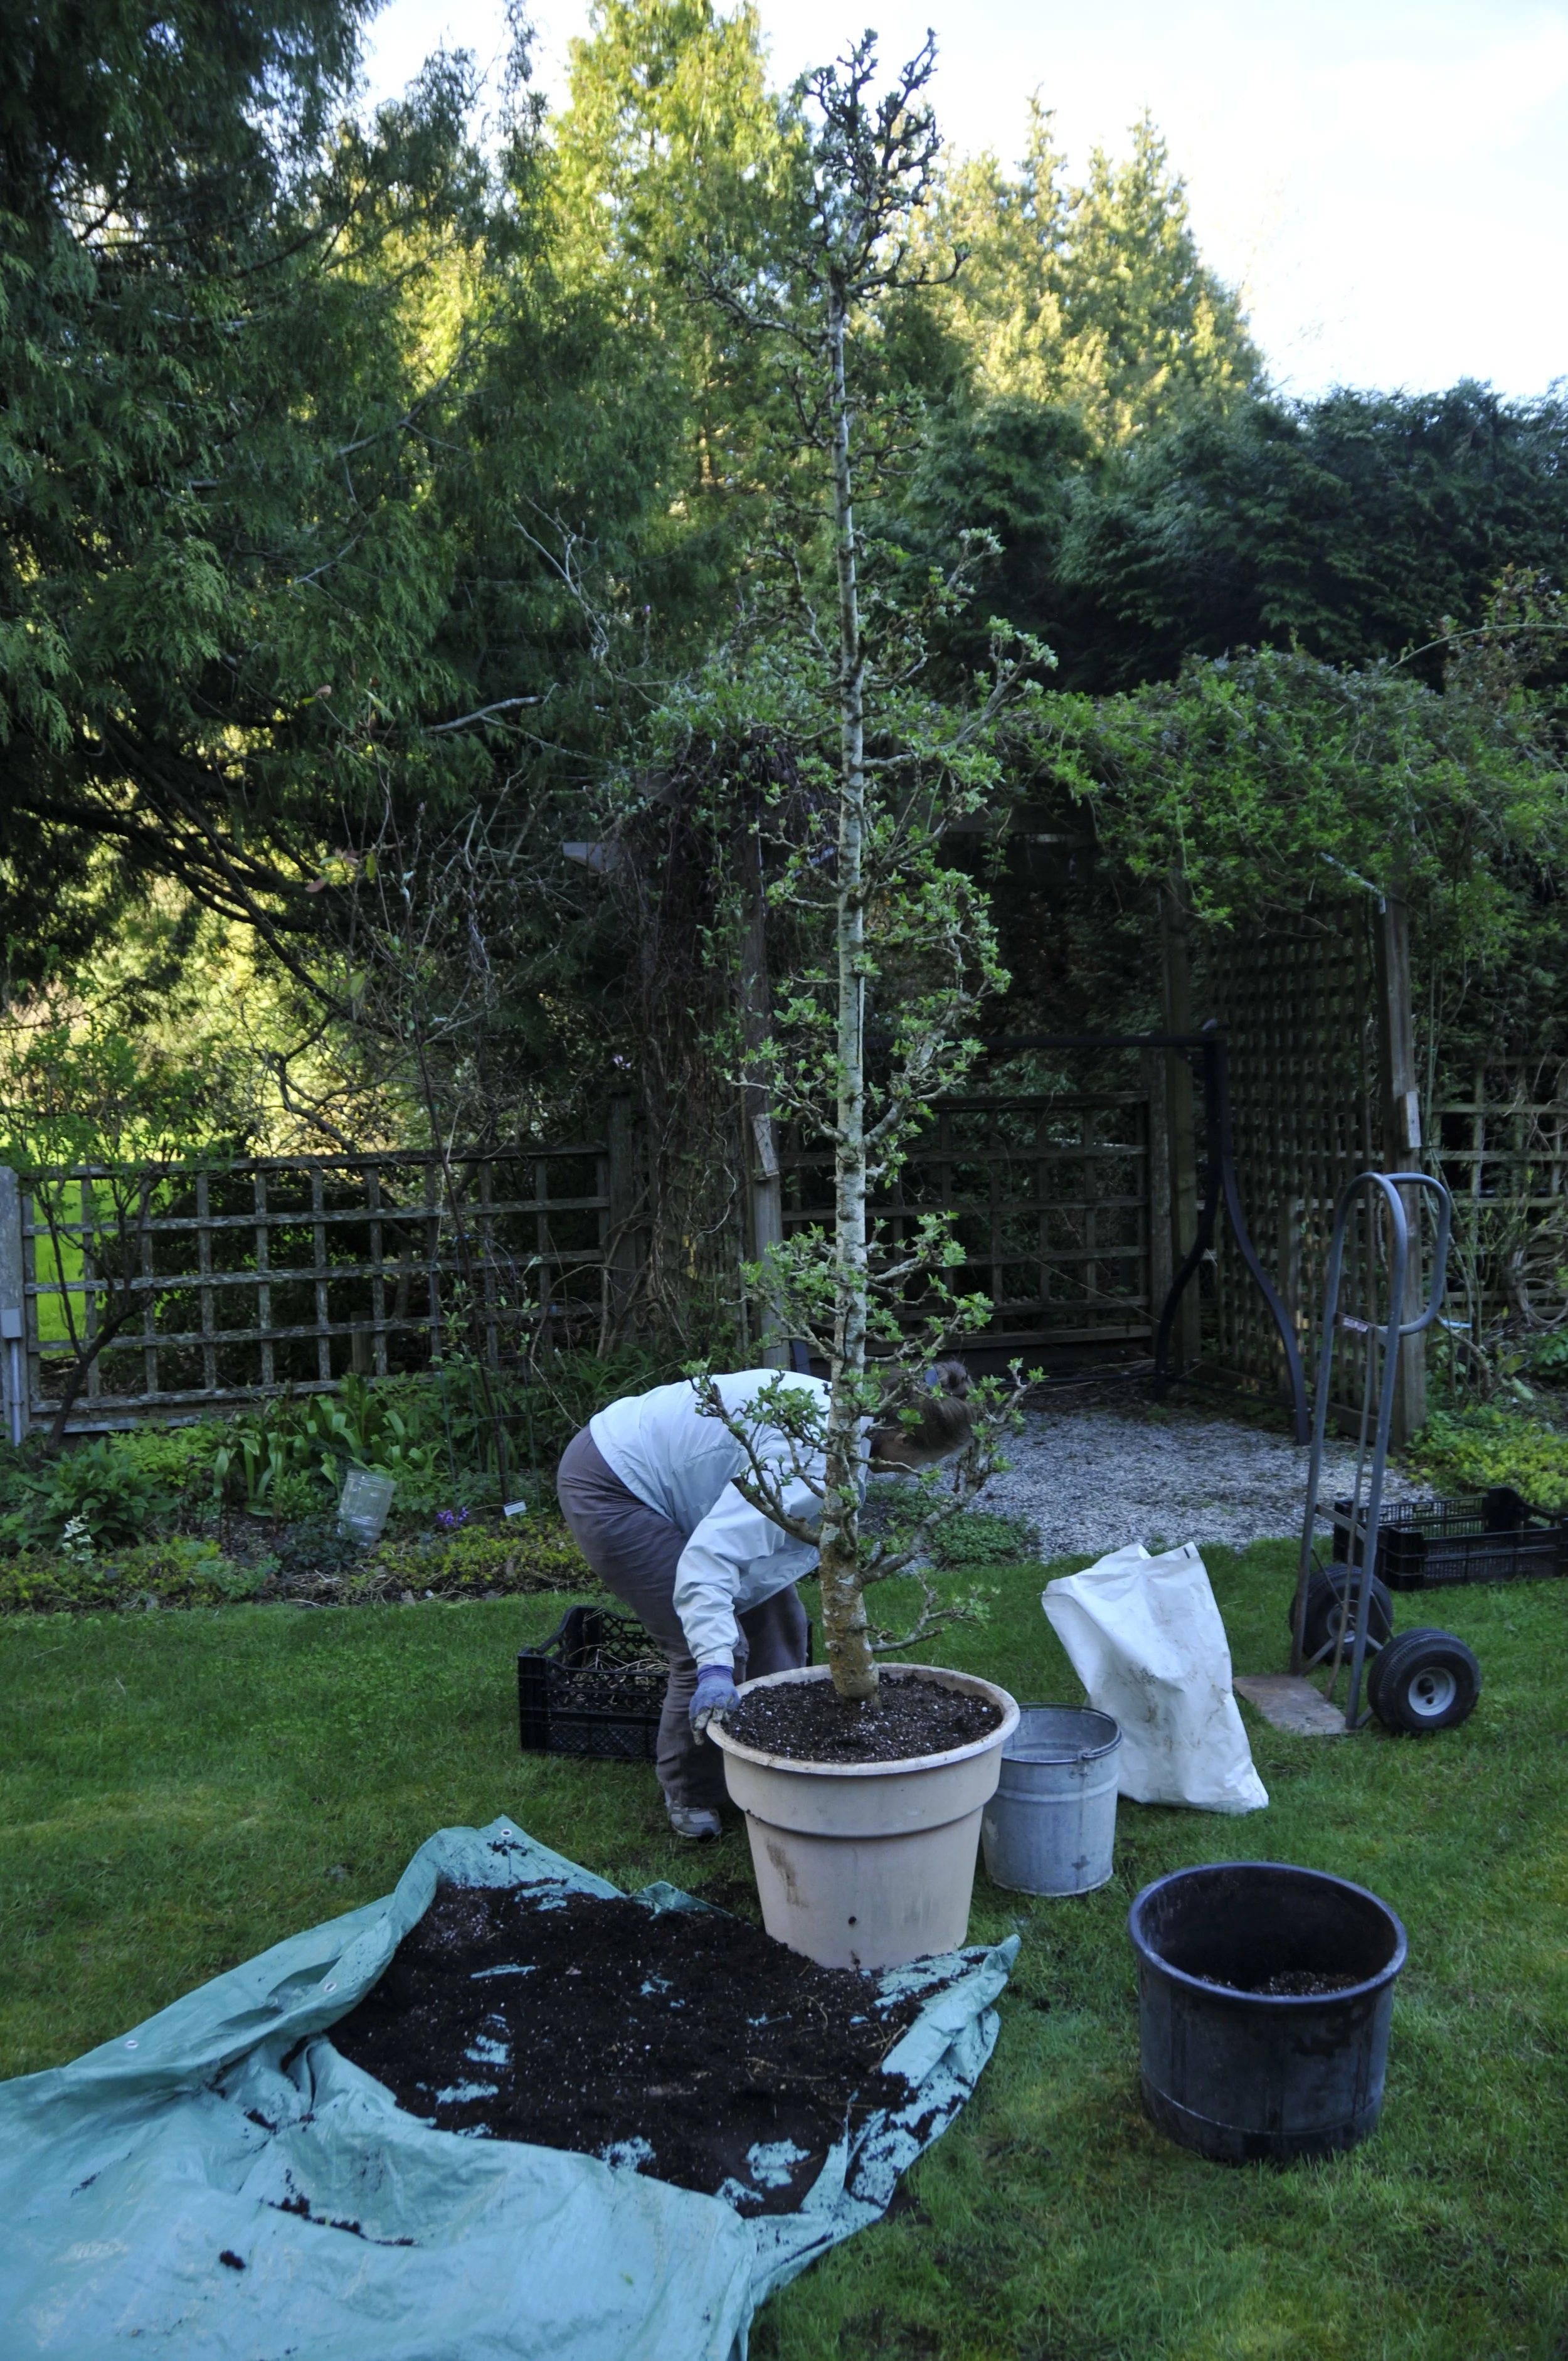
Planting the tree – site preparation, planting, post planting care
a. In Garden
i. prepare the site for the new tree by removing any weeds and checking the drainage. If you want to add amendments to this I'll add them to the whole area around for the tree will be planted not just of finding all.
ii. The hole for the new tree should be about twice as wide as deep. The depth of the hole should be the same as the root ball of the tree of just purchased.
iii. Do not put any amendments into the soil around the base of the tree, refill this all around tree roots with the original soil removed when you dug the hole.
iv. If you're planning the tree in the fall of October or in the spring in February March, was that the root ball before you put it into the hole. Any roots that are circling should be pruned back at this time. And if you are planting a potted tree during the growing season or in the middle summer remove the tree from its pot and place it gently into the hole without disturbing the roots.
2.
Apple and pear Tree Planting Instructions
3. Apple trees are among the easiest of all fruit trees to grow. They tolerate a wide range of conditions, but need lots of sunlight (6 to 8 hours minimum) and good soil drainage. Getting good tree growth to develop structural branches during the first 2-3 years after planting is important. After that, the goal shifts from growing branches to the production of fruit buds. Healthy productive apple trees have a balance between branch growth and fruit production. Healthy trees require adequate soil moisture throughout the growing season, good nutrition (too much fertilizer can be worse than not enough) and control of competing vegetation, diseases and insect pests. Keep in mind that old apple trees nearby are usually a source of disease that will infect your new trees. Remove old infected trees if possible.
4. When to Plant
5. If you purchased a tree at the UBC Apple Festival in mid-October, it is best to plant your new tree as soon as possible. This gives the tree a chance to grow a few new roots before cold weather, in preparation for growing the following spring. If you cannot plant your new tree in its final location in the fall, consider one of the following. All of these are intended to slow the rate of temperature change that the tree is exposed to. Rapid Changes in temperature rather than low temperatures themselves cause most winter damage to trees in pots, particularly to the roots as they are less able to stand temperature changes than the above ground parts of the trees.
6. 1. plant the tree – pot and all – in the soil in a temporary location and move it to its final location in February (the soil around the pot will protect the roots the winter), or
7. 2. transplant the tree into a larger pot (a 5 - 10 gallon pot) or wrap the small pot in insulation and place it in a protected location out of the worst winter weather, making sure it does not dry out. A protected location could be under a deck or at the back of a home between the home and a fence or in an unheated garage. The trees will be dormant from the time you purchase them till the next spring so they do not need any sun. Water is very important as it buffers the rate of temperature change and keeps the roots from drying out. In February transplant it in its final location.
8.
9. Until you plant it, protect your tree from injury, drying out, freezing, or overheating. Black pots exposed to the winter sun will heat up quicker than light colored pots, even on cold days, leading to a dramatic drop in temperature at sundown.
10. If you will be growing the tree in a container on a deck, patio or balcony, use a large container, soil with good drainage and follow the same procedure for planting in the ground. Half barrels are often recommended for long term planting of fruit trees. The problem with half barrels (20 - 25 gallon size) is that they are very heavy and awkward to move. Fruit trees can be grown permanently in containers as small as 10 gallons is you fertilize them annually and keep them irrigated in the summer. All trees that are grown permanently in containers will need to be repotted every few years (every 3 years for small containers, longer for larger containers).
11. Digging the Planting Hole
12. Before planting, remove all the weeds and grass from a 2-4 foot circle of soil around the location where you are going to plant. Dig the hole approximately the depth of the pot and 2-3 times as wide. The planting hole should be wider at the top than at the bottom, as most of the feeder roots will be within a foot of the soil surface. All apple trees are grafted. The graft union is usually obvious as a slightly swollen area or a slight dog leg in the tree trunk just above the soil. After planting, the graft union should end up 2-3" (5-8 cm) above the final level of the soil, so the depth of the hole depends on where the graft union is on the tree you have purchased. Planting the graft union at or below soil level is the most common mistake made when planting new dwarf fruit trees. If the graft union touches the soil, the scion (the part of the tree above the graft union) will grow roots, eliminating the dwarfing effect of the rootstock. If you accidentally dig the hole too deep or the root is smaller than expected once you take it out of the pot, backfill and tamp the soil down at the
13. Soil preparation prior to planting. Fruit trees will grow well in a wide range of soils from sands to clays. Ideally the soil in any site or you plant a tree should be loosened up before planting.
References
Scion Rooting, Tree Fruit Magazine, 2016
Avoid Scion Rooting, Good Fruit Grower, 2009
Planting After Care in Orchards, MSU. Also Burr Knots, Scion Rooting, Mounding,
Planting Fruit Trees, MSU